Basic Mode - A revised, simplified user interface.
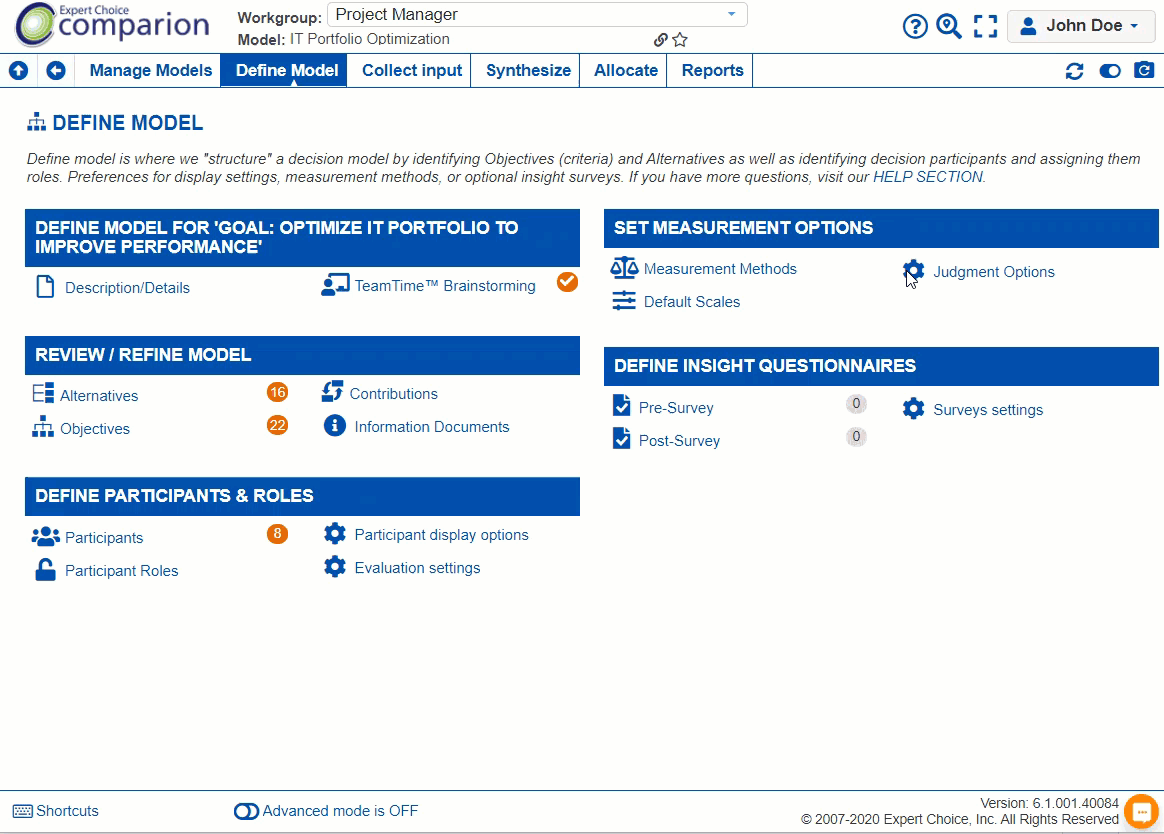
Advanced Mode - Advanced mode shows advanced option(s) on each screen. This allows advanced users to go deeper into the application. The left navigation is only displayed when this option is ON.

When you switch to Advanced mode, the advanced options on the page, if any, will flicker for few seconds.
An eye icon also appears as shown above where there are Advanced options on the page, and hovering on the icon will flicker those advanced options.
Comparion has a flexible way of defining the wording to be used on your model.
The Model Wording is initially defined for new models from:
- Default Options Sets - use the wording as specified on the default option sets Judgments Options wording.
- Workgroup Wording Templates - check the "Use workgroup wording templates" check box to apply the "Workgroup Wording Templates" to the new model's Judgments Options terminologies.

NOTE: When uploading existing models, or creating models from Archive or Templates, the wording will be based on its Judgments Options wording.
Based on the selected option above, the wording will be applied to the created model’s JUDGMENTS OPTIONS WORDING which will be used throughout the model.

NOTE: Since the Judgments Options terminologies only have a plural form, few places which use the singular form will use the Workgroup Templates’ singular terminologies.
You can also select the evaluation phrase to be used in the evaluation; by default, we show the wording for pairwise comparison both for Objectives (left) and Alternatives (right) as shown above.
Expand the dropdown to select the phrase.
For Objectives:

For Alternatives:

Alternatively, you can also select Custom and type in the desired phrase (e.g., is more influential, has more importance, etc.).
When you select from the predefined phrase on the dropdown, the wording will also be applied to the Rating evaluation.
For example, if you selected "is more important," the Rating wording on the evaluation page will be "Rate the importance." Custom wording is not applicable for Ratings.
If you want to fully customize the evaluation questions, you can edit the question directly on the evaluation page.

A summary of how wording works are shown in the diagram below:

Model Snapshots allows you to restore your Comparion model to a specific snapshot or restore point.

You can open Snapshots from the upper right menu as shown above, which is available on every page when the model is open, or in the Model's list command when the model is closed.
View Mode
Model Snapshots can be displayed in Grid or List View.
Click  to toggle between Grid and List view.
Grid View
The Grid View groups the similar snapshot actions (see 1st column) and shows the corresponding Date/Timestamps on the succeeding columns.
For example below, the "Update pipe setting" action has snapshots with ID #183, #180, #177, and so on for different dates/times.

List View
Simply shows the snapshots' actions in a list view.

Automatic Snapshots
A - (Auto) snapshots created automatically when modifying the model (i.e., add nodes, change contributions, model options, etc.). Automatic snapshots are created after the change in the model.
Manual Snapshots
M - (Manual) created by the user at any time for any reason.
You can manually create a restore point by clicking the  button.
A dialog box prompt will be displayed where you can add a comment:

Manual snapshots have a green font color.


Filter Snapshots
To filter the grid or list of snapshots, click the
 button. You can choose to show all snapshots, only automatic snapshots, or only manual snapshots.
Edit and Delete Snapshots
Hovering on a snapshot name (List View) or Snapshot ID (Grid View) displays the pencil and delete icons.

Clicking the pencil icon will show the edit window where you can edit the snapshot comment.
To delete multiple snapshots at the same time, click the
 button, then select the snapshot(s) to delete, and then click Delete Selected. You can also empty the list using Delete All.
Restore Snapshots
To restore your model to a specific snapshot (model version):
- Open Snapshots

- Click on the Snapshot name in the List View
 or the Snapshot number in the Grid view
  of the version you want to revert to.
 - A confirmation prompt will appear:
 or the Snapshot number in the Grid view
  of the version you want to revert to.
3. If you wish to create a snapshot of the current state before restoring, click the applicable checkbox, enter the snapshot name, and then click Proceed.
Forgot or Reset Password
In case you have forgotten or want to reset your password, just click on the "I forgot my password" link on the Comparion login page.
A prompt will be displayed where you need to enter the email address of your Comparion account.
 Comparion will send you an email with a link (valid for 72 hours) to reset your password.
Simply click the reset link and you will be prompted to create your new password. After doing so, click OK and you will be redirected to the login page where you can type in your email and your new password.
Project Manager Reset Participant's Password
The Project Manager can also change a participant's password.
- Go to Workgroup Management/Model's Participants List
- Search for the Participant that you want to change the password
- Click the key icon at the right where you can see two options to reset the password:
- Generate random password
- Manually set password - by typing in the desired password in the text box provided
Regardless of the option selected, the participant will receive an email with the link to create a new password. The manually set password allows the participant to log in using the temporary password set by the Project Manager; s/he will be asked to create a new password after logging in.
If you just want to change your password, you can go to the Personal Settings page after logging in and then update your password.
Application Shortcuts
Comparion provides you with shortcuts to easily navigate and perform actions within the application. You can see the list of keyboard shortcuts by clicking the Shortcuts link at the bottom left of every page.
The shortcuts list may vary depending on the user's permission and the current page. For example, the shortcuts below are for the Project Manager.

When the user is in the evaluation, shortcuts for navigating the evaluation and accepting judgments (when applicable) will be included in the list (see highlighted):

Rich text editor Shortcuts
You can use the rich text editor shortcuts to easily perform formatting options/actions within the editor. You can see the complete list by clicking the Help menu on the editor, or by pressing Alt+0:

| Action | Shortcut |
|---|---|
| Bold | Ctrl + B |
| Italic | Ctrl + I |
| Underline | Ctrl + U |
| Select all | Ctrl + A |
| Redo | Ctrl + Y or Ctrl + Shift + Z |
| Undo | Ctrl + Z |
| Header 1 | Shift + Alt + 1 |
| Header 2 | Shift + Alt + 2 |
| Header 3 | Shift + Alt + 3 |
| Header 4 | Shift + Alt + 4 |
| Header 5 | Shift + Alt + 5 |
| Header 6 | Shift + Alt + 6 |
| Paragraph | Shift + Alt + 7 |
| Div | Shift + Alt + 8 |
| Address | Shift + Alt + 9 |
| Open help dialog | Alt + 0 |
| Focus to menubar | Alt + F9 |
| Focus to toolbar | Alt + F10 |
| Focus to element path | Alt + F11 |
| Focus to contextual toolbar | Ctrl + F9 |
| Open popup menu for split buttons | Shift + Enter |
| Insert link (if link plugin activated) | Ctrl + K |
| Save (if save plugin activated) | Ctrl + S |
| Find (if searchreplace plugin activated) | Ctrl + F |
| Switch to or from fullscreen mode | Ctrl + Shift + F |


Most grids support both single and multi-column sorting.
Single-column sorting
- Click a column header to sort by that column, OR
- Right-click the header and choose a sort option from the context menu.
- Note: Right-clicking a different column to sort without clearing the current sort will activate multi-column sorting.
To avoid this, clear the active sort first—either by clicking any column header or by choosing Clear Sorting from the right-click menu.
- Note: Right-clicking a different column to sort without clearing the current sort will activate multi-column sorting.
- An arrow (↑ or ↓) shows the sort direction.

Multi-column sorting
- Hold Shift and click other column headers to add more sorting levels, OR
- Right-click another column and choose a sort option—this adds it to the current sort.
- An arrow (↑ or ↓) shows the sort direction. The sorting priority (1, 2, 3...) is also displayed.

